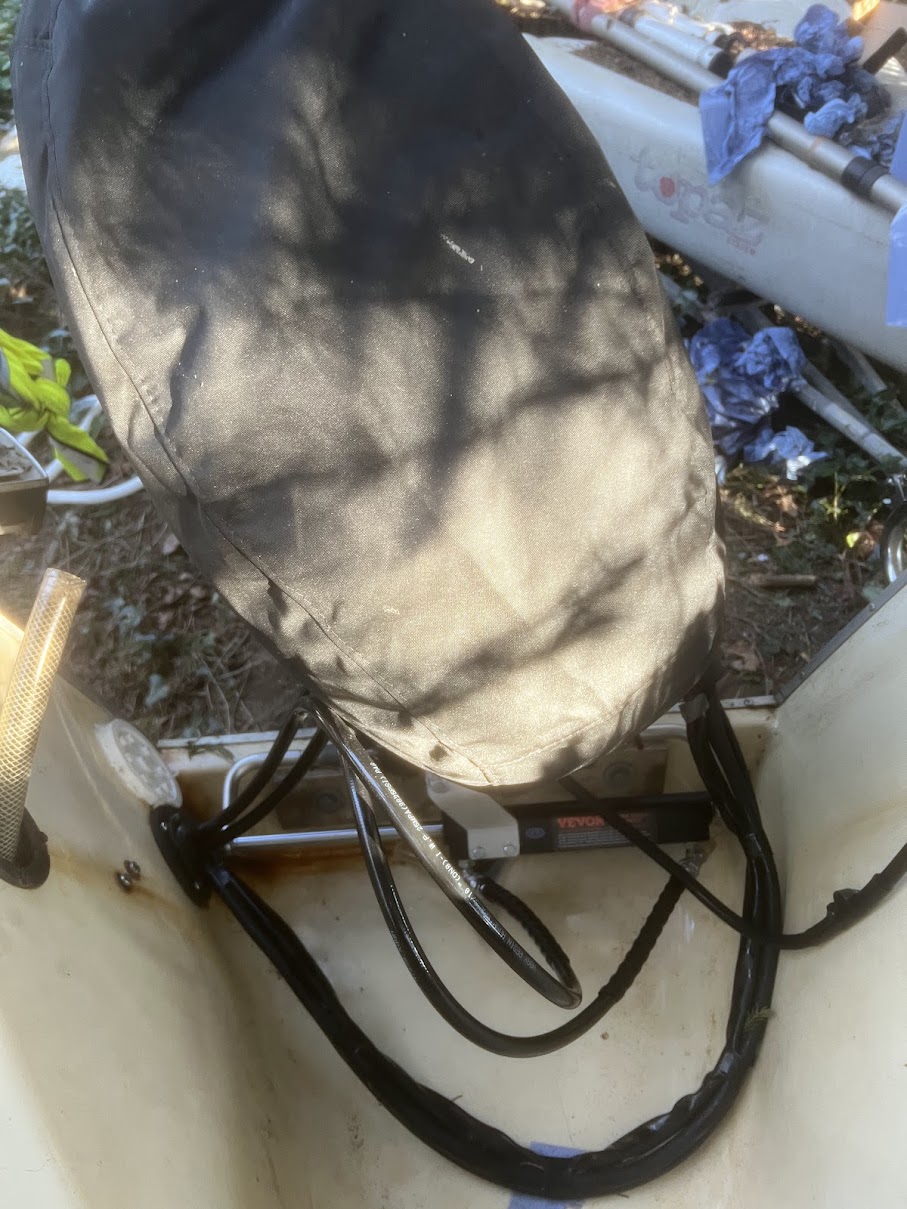
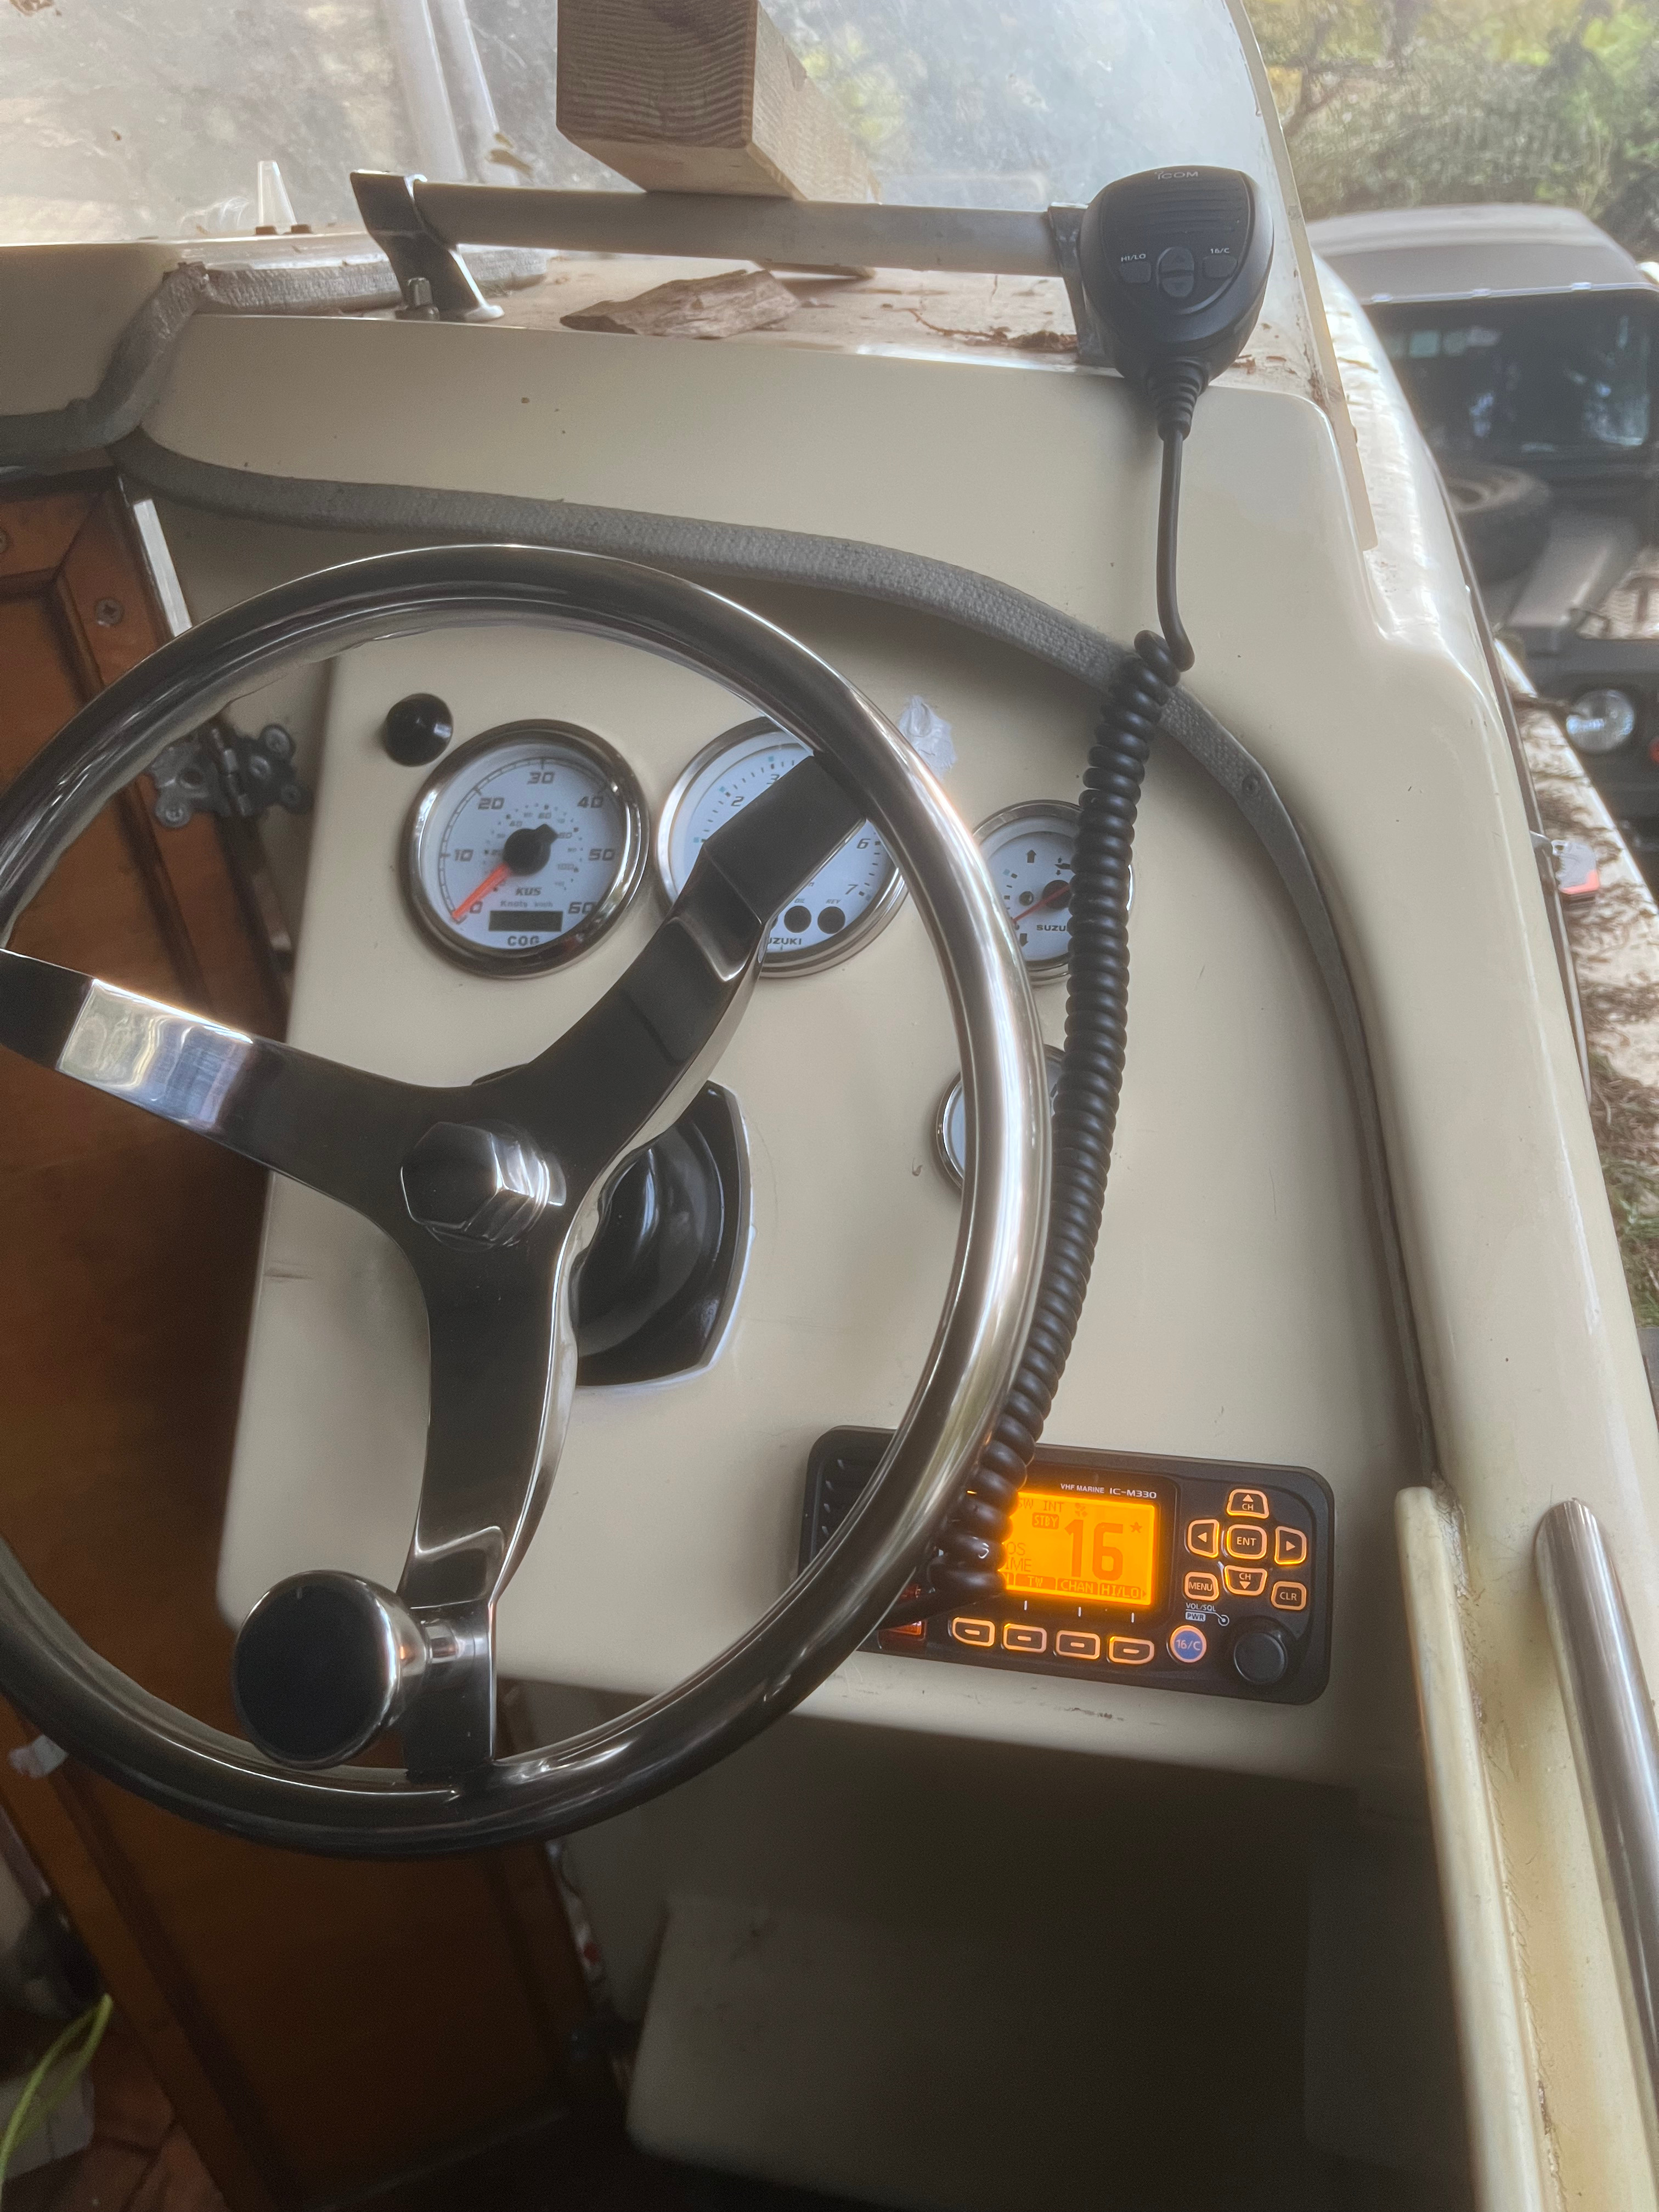
Just getting back to this now because today is the next day / next weekend I had a look at this.
This week I received a bleeding tube with the quick fit connectors (they look like air hose connectors) - I purchased it on Amazon - and I tried this tube to do a final bleeding to remove air from the hydraulic system. Actually I don't think there was any advantage with this pipe over a bit of off-cut of the steering pipe which didn't cost anything. In the following photos you'll see I still have the bleeding tube attached (clear tube with brass quick-fit connectors). Normally this tube is not attached.
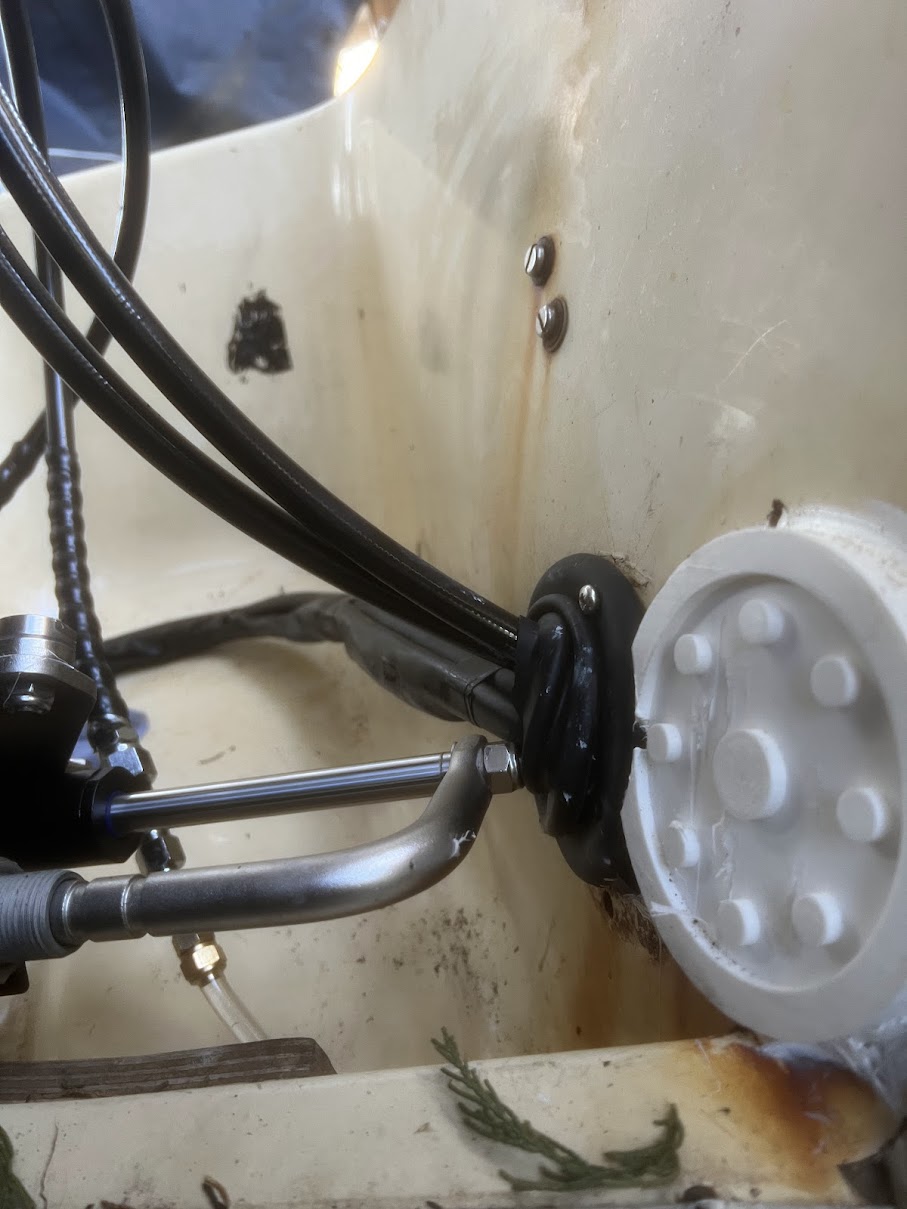
The RAM fits in nicely with about 2" spare each side - on this kit the ram moves left and right and it has an arm that move this outboard motor (my outboard currently has a cover over it but it's a Suzuki DF50. In this photo you can see that I have all the outboard control cables coming through a gland thing on the starboard side. I've now also run the 2 hydraulic pipes though the same gland. You can see a funny white circle - I 3D printed this to fill in the hole that used to house the cable ultraflex splashwell mounting kit. I'm not happy that the end of the bar for the hydraulic steering is so close to the cables and pipes coming through the gland - really a better/different location would fix this problem. But I suppose the bar never really moves (the ram moves) and I've just about got enough clearance so this is what it is right now.
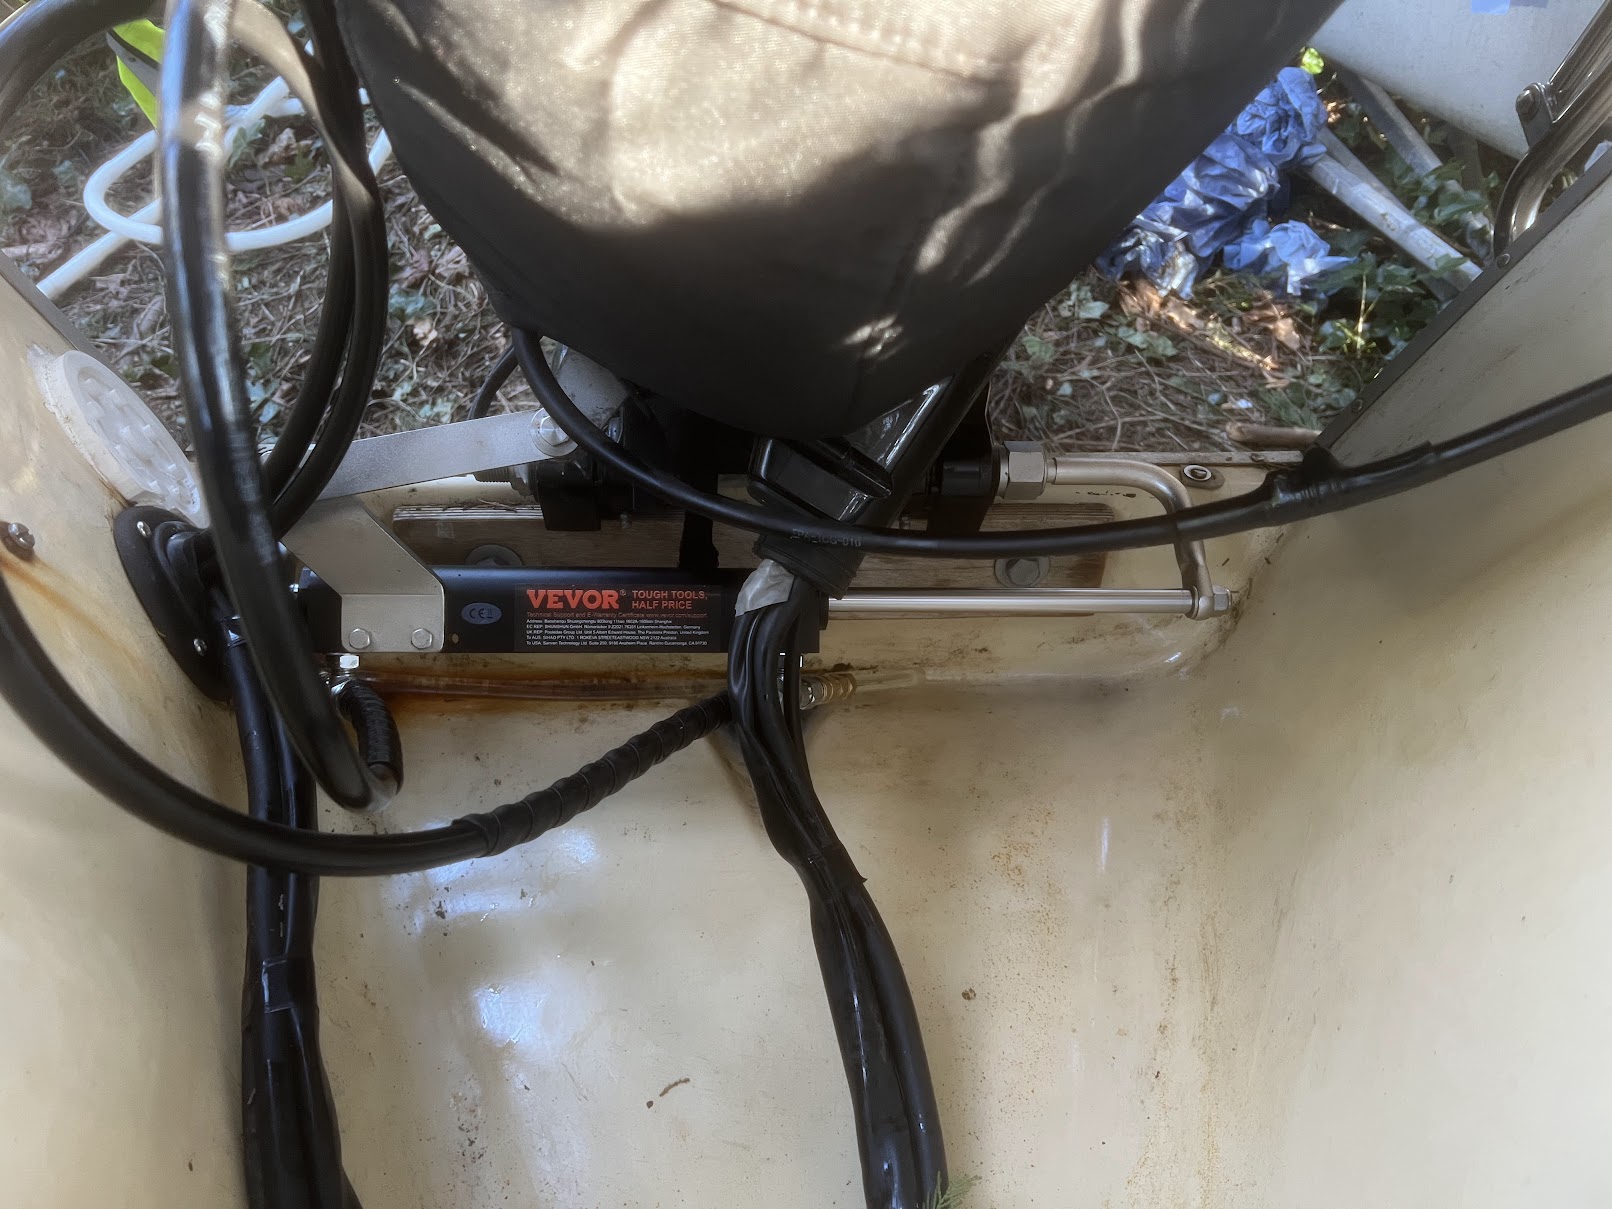
From the rear looking into the stern of the boat you can see there is nice clearance on the port side (and that bar never moves - the ram moves on the bar)
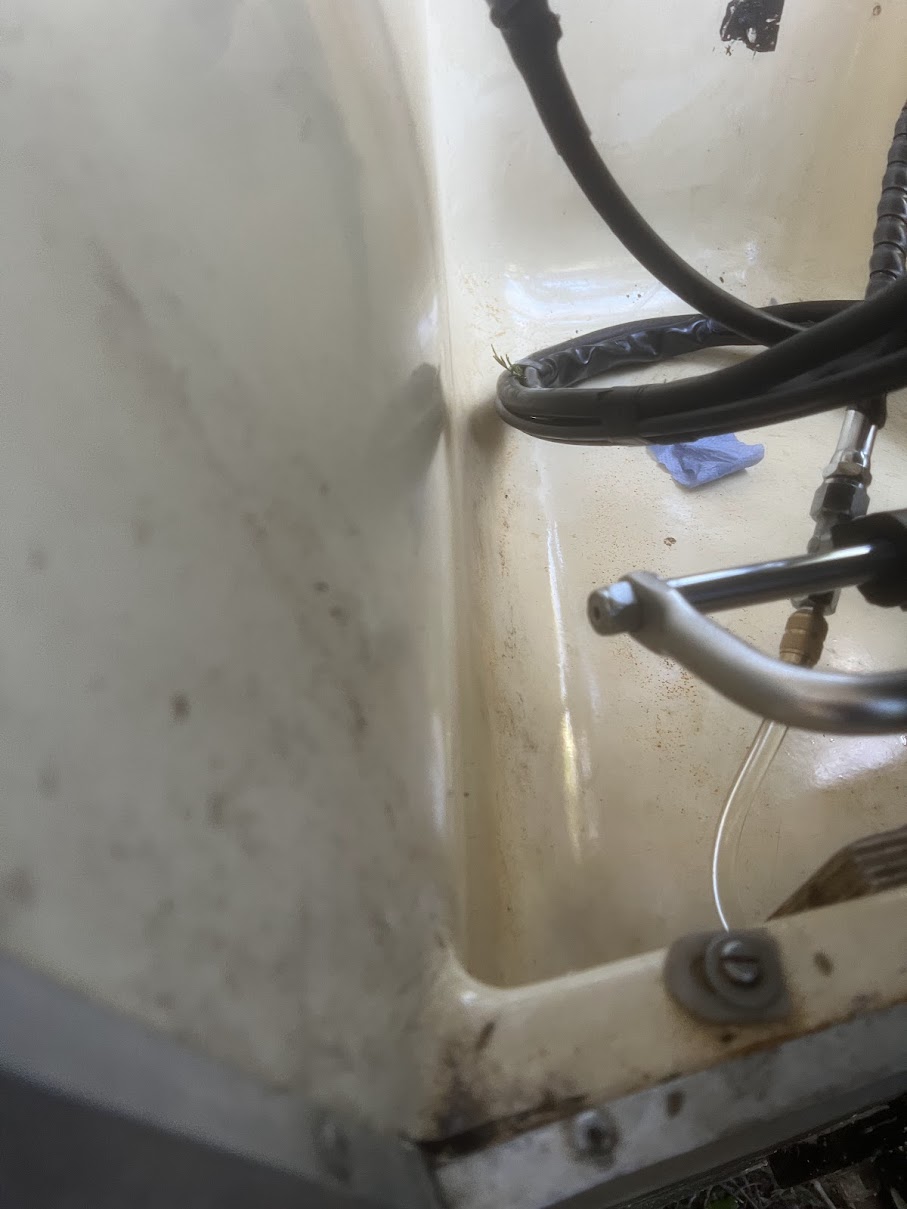
But, as I said, I'm not really happy with how close the end of the bar is on the starboard side - but because that's what it is, and it doesn't move, and I kept the hydraulic steering pipes up and forward I'm hopeful that there won't be any wear on anything. If I was doing this at the same time as putting an engine on I think I'd move all the control cables and hydraulic pipes to a better location which would be pretty easy. You can see my 3D printed "plug" to cover the hole from the last splashwell steering mounting kit (it's very white looking I know compared to the Shetland gelcoat colour...)
A photo of the port side from within the boat (looking to the stern) - you can see I still have the bleeding tube attached.
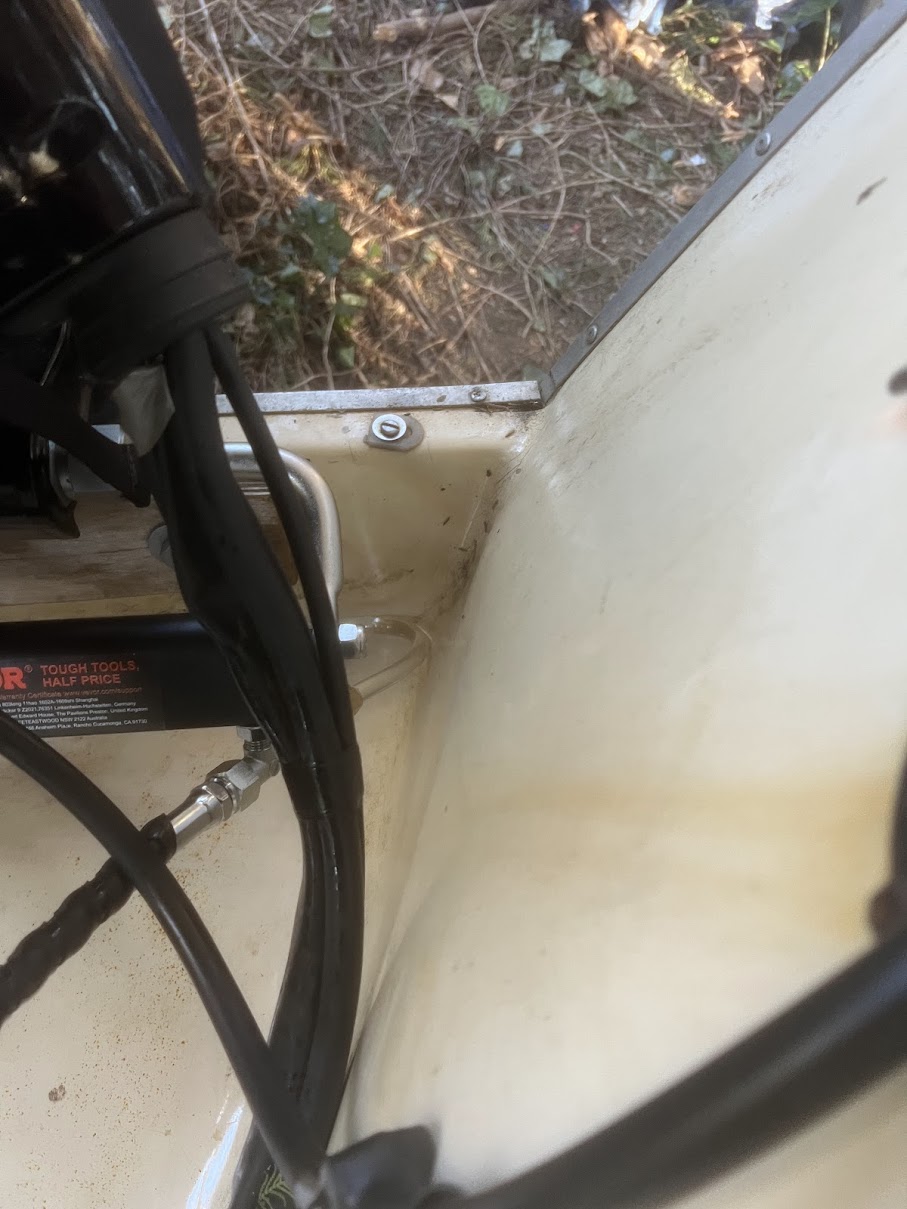
From the same location in the boat a photo of the starboard side where all the engine control cables and now the hydraulic steering cables come through into the engine bucket (I'm not sure of the correct term of this bit of the Shetland's transom/stern).